Live Translator - Quick Start Guide
The key to great live translation is great audio quality. Clear audio input leads to accurate transcription, which in turn produces reliable translations. In this guide, we'll walk you through three common setup methods, each suited to different needs and equipment levels. For a detailed explanation of every control and option on the host page, see the Hosting Broadcasts Manual.
Why Audio Quality Matters
Before we dive into setup methods, it's important to understand why audio quality is crucial:
- Clear audio = Accurate transcription - When the system can clearly hear what's being said, it can transcribe it accurately
- Accurate transcription = Better translation - The translation engine works with the transcribed text, so errors in transcription compound into translation errors
- Better translation = Better experience - Your audience receives more natural, contextually accurate translations
The bottom line: Investing in good audio quality pays dividends in translation accuracy. Even small improvements in audio capture can significantly enhance the translation experience for your audience.
3 Audio Setup Methods to Get Started
Method 1: Professional Audio Setup
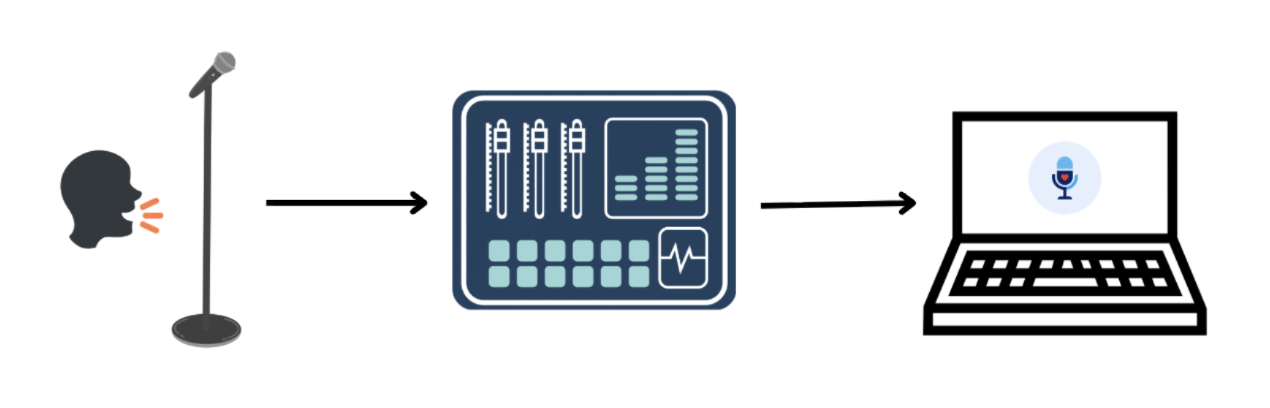
The gold standard for events, broadcasts, and professional presentations. Connects directly to your existing audio infrastructure.
What You Need:
- A professional audio mixer or interface
- Microphone(s) connected to your mixer
- A laptop or computer
- Hope Translator web app
- Audio connection from mixer to computer (USB, XLR, or 3.5mm)
Method 2: Wireless Microphone to Laptop
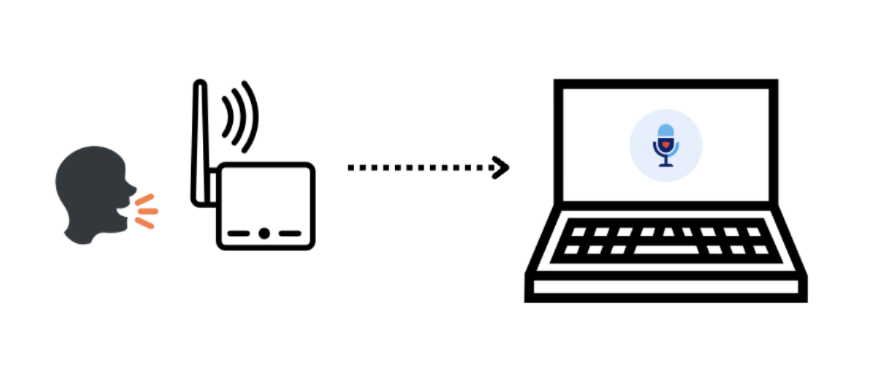
Ideal when there is no professional sound board or you can't access it. The quality is still good if your wireless microphone is high quality and has noise cancellation.
What You Need:
- A wireless microphone (see our recommended wireless microphones guide)
- A laptop or computer
- Hope Translator web app
- A receiver connected to your computer (if using wireless mic system)
Method 3: Direct Smartphone Setup
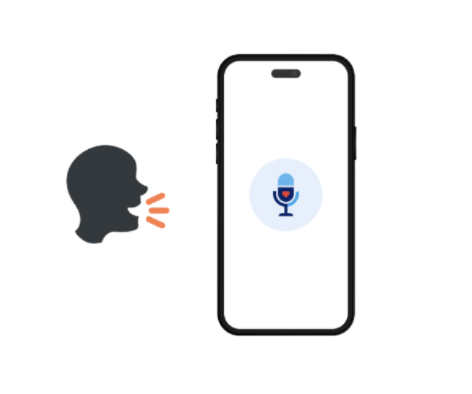
The simplest way to get started—perfect for quick tests, small groups, or when you need a portable solution.
What You Need:
- A smartphone (iOS or Android)
- The Hope Translator mobile app
- A quiet environment
How It Works:
- Open the Hope Translator app on your smartphone
- Grant microphone permissions when prompted
- Start a new translation session
- Speak directly into your phone's microphone
- Translations appear in real-time on your device
3 Ways to Share Transcriptions and Translations
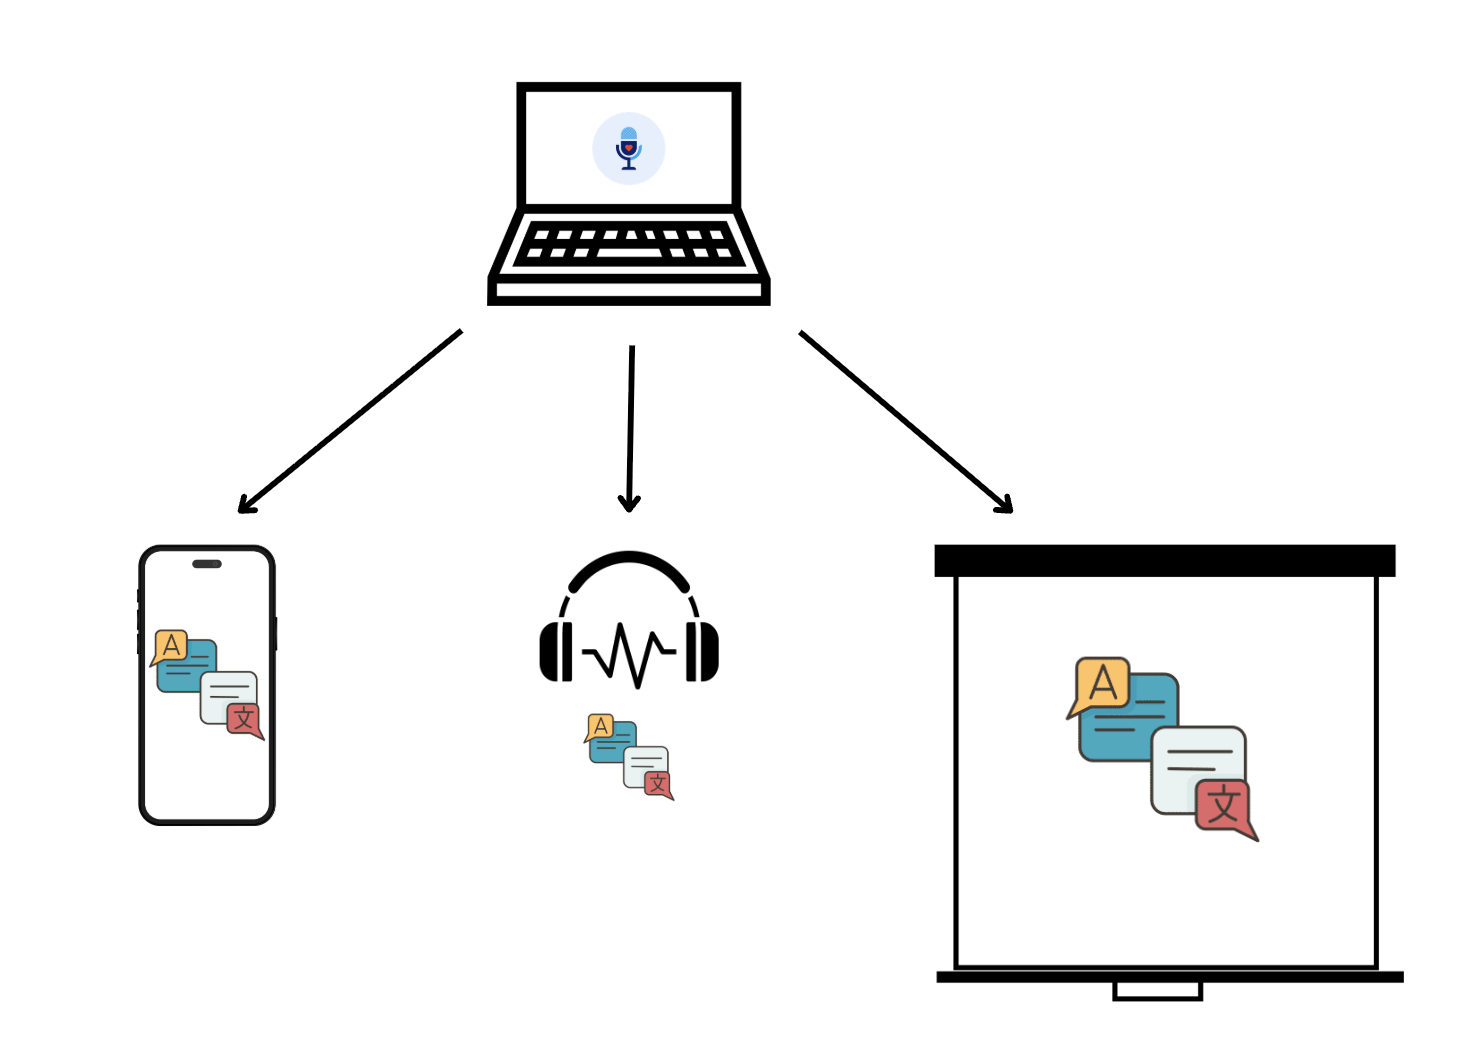
Once you've set up your audio input and translations are processing, you need to share them with your audience. Hope Translator offers three flexible ways to distribute translations, each suited to different scenarios and audience needs.
1. Mobile Devices (Smartphone/Tablet)
Perfect for individual audience members who want to read translations on their own devices.
How It Works:
- Generate a QR code from your Hope Translator session
- Audience members scan the QR code with their smartphones
- Translations appear in real-time on their mobile devices
- Each person can choose their preferred language independently
- Works with any smartphone or tablet with a web browser
Best For:
- Large audiences where everyone has a smartphone
- Multilingual events where different people need different languages
- Situations where you want to keep the main screen free for presentations
- Events where people prefer reading on their own devices
Benefits:
- No additional equipment needed—everyone uses their own device
- Each person chooses their language preference
- Private viewing—doesn't interfere with main presentation
- Works for unlimited audience members
2. Headphones and Audio Output
Ideal for providing translated audio to individual listeners, especially useful for accessibility and personal listening.
How It Works:
- Download required: Get the mobile app (AI voice reading is only available on the mobile app)
- Connect headphones or audio output devices to your computer
- Hope Translator can output translated audio (AI voice reading)
- Listeners can hear translations in their preferred language
- Works with wired headphones, Bluetooth devices, or audio distribution systems
- Can be combined with mobile app for text + audio
Best For:
- Accessibility needs (hearing translations while watching)
- Quiet environments where audio is preferred over text
- Personal listening experiences
- Combining with visual translations for enhanced understanding
Benefits:
- Hands-free listening experience
- Can be used alongside visual translations
- Works with various audio output devices
- Great for accessibility and learning
3. Large Screen/Projector Display
Perfect for displaying translations on presentation screens, projectors, or large displays for the entire audience to see.
How It Works:
- Connect your computer to a projector, large screen, or second display
- Use Hope Translator's screen overlay feature
- Translations appear directly on your presentation screen
- Can be integrated with ProPresenter, OBS, or other presentation software (see our ProPresenter integration guide for detailed setup instructions)
- Works as an overlay that doesn't interfere with your slides
Best For:
- Church services and sermons
- Conference presentations
- Events where you want everyone to see the same translation
- Integration with existing presentation setups
- Situations where a single language translation is sufficient
Benefits:
- Visible to entire audience simultaneously
- Integrates seamlessly with presentation software
- Professional appearance
- No need for audience members to use their own devices
How to Use the Web Client
Once someone scans the QR code and opens the web client, they can customize how they see and hear translations:
- Select a language - Use the language selector to choose their preferred translation language.
- Increase font size - Adjust the text size controls so subtitles are easy to read from any distance.
- Hide the original language transcription - Turn off the original language line so only the translated text is shown (ideal for smaller screens).
- Listen to the translation - If audio playback is enabled, tap the listen button to hear the AI voice read translations aloud.
These options let each listener personalize their experience on their own device, even when everyone is connected to the same live session.
Combining Multiple Methods
You're not limited to just one method! Many events benefit from using multiple sharing methods simultaneously:
- Screen display + Mobile QR code - Show one language on screen while offering multiple languages via QR code
- Mobile app + Audio - Provide both text and audio translations through the mobile app
- Screen overlay + Headphones - Display translations on screen while offering audio output for accessibility
Example: At a church service, you might display English translations on the main screen while providing a QR code that lets Spanish, Vietnamese, and Korean speakers access translations in their preferred languages on their mobile devices.
Next Steps
Now that you understand the setup options:
- Choose your method - Based on your needs, equipment, and use case
- Test your setup - Read our guide on How to Test Live Speech Translator to learn how to test with demo mode or your favorite content
- Start translating - Begin your first live translation session
- Learn how to share translations - Read our guide on How to Listen to Live Translation to understand how to broadcast and share translations with your audience
Conclusion
Getting started with live translation is easier than you might think. Whether you start with a simple smartphone setup or dive straight into professional audio, Hope Translator adapts to your needs and equipment level.
Remember: Good audio quality is the foundation of great translations. Invest time in setting up your audio correctly, and you'll be rewarded with accurate, natural translations that serve your audience well.
The best setup is the one that works for your specific situation. Start simple, test thoroughly, and upgrade as your needs grow. With Hope Translator, you have the flexibility to choose the method that fits your event, your equipment, and your audience.
Ready to get started?
- Try it free: Visit hopetranslator.com and use demo mode to test different audio setups (no credit card required)
- Download the mobile app: Get the app for smartphone-based translation
- Learn to share translations: Read our guide on How to Listen to Live Translation to set up broadcasts and share with your audience
- Need help with setup? Check out our FAQ or contact us for personalized assistance
- Learn more: Explore our guides on connecting to mixers and professional audio setups, or read the Hosting Broadcasts Manual for a complete reference to every host-page control and option
Have questions about which setup method is right for you? Our team is here to help you choose the best option for your specific needs and equipment.