How to Connect Hope Translator to a Sound Mixer
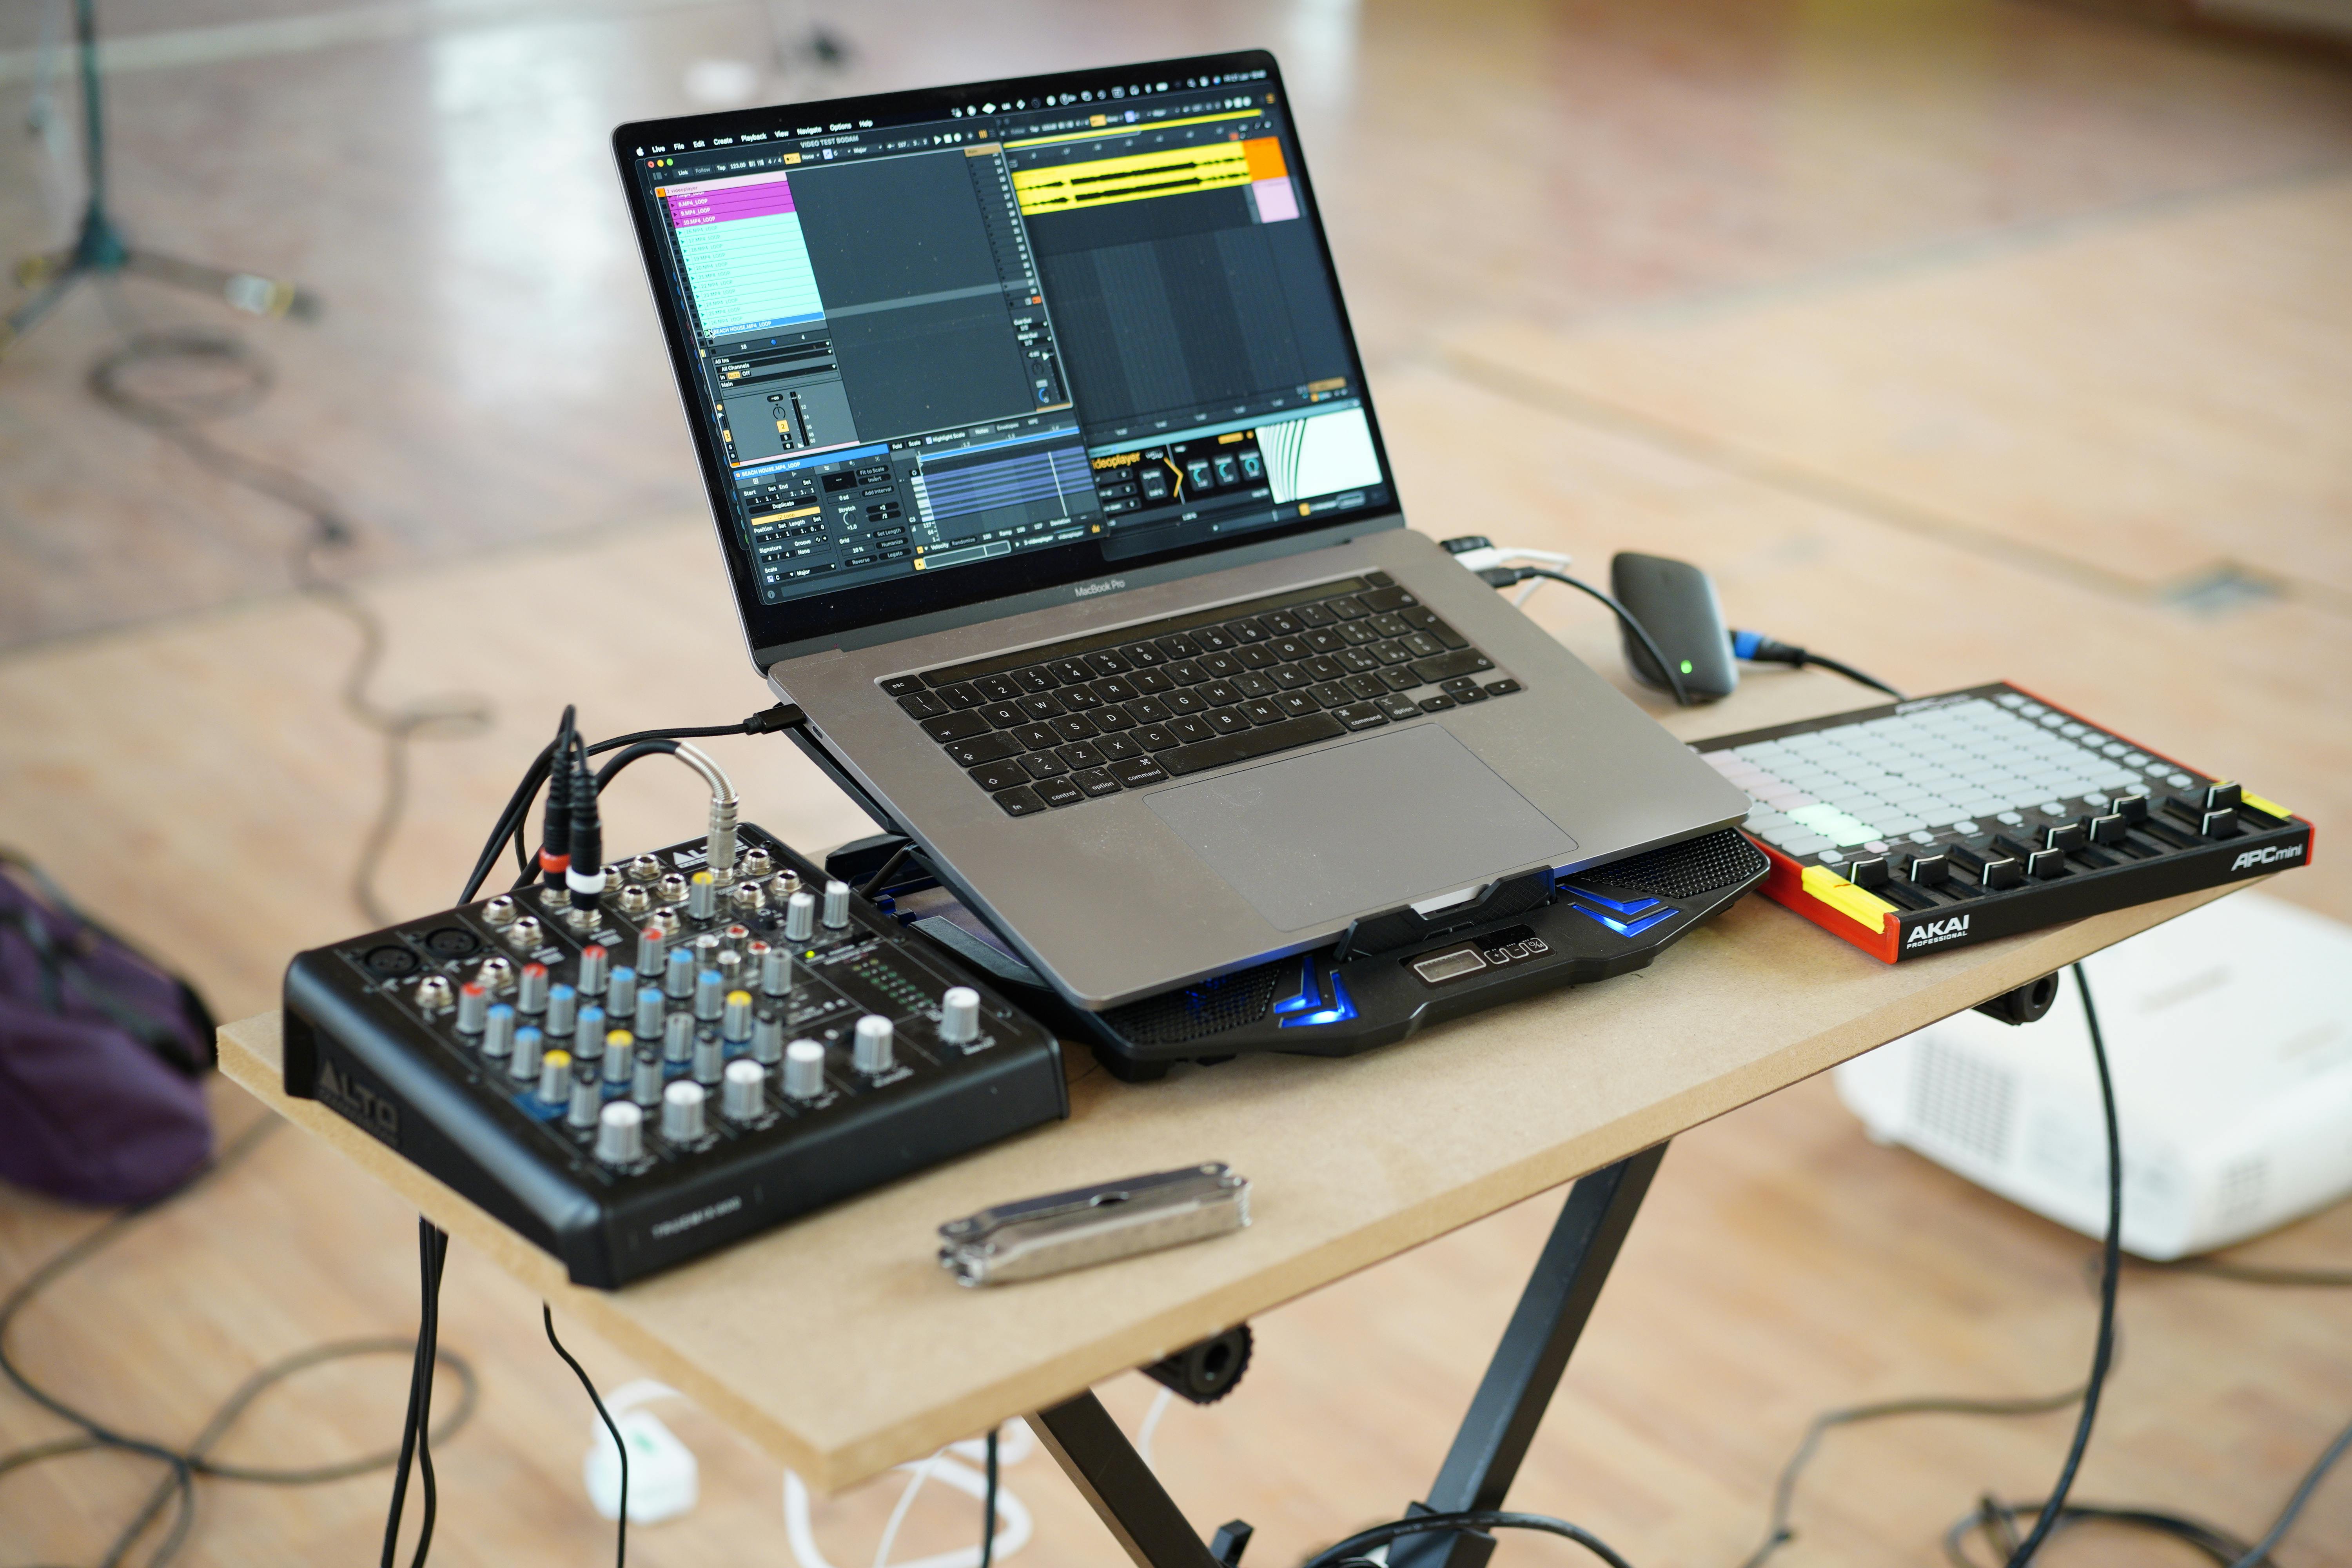
Connecting Hope Translator to a sound mixer allows you to capture high-quality audio from your sound system, making it perfect for professional events, conferences, and live performances. This guide will walk you through what audio to send, how to build a speech-only feed, and different methods to connect your mixer to Hope Translator.
Mix Minus or Mix With Music?
This is the most common question from churches and event teams: does the audio sent to Hope Translator need to be a mix minus, or can it be the same mix the room hears, including music?
- Mix minus (recommended): a dedicated feed of the spoken voice only—pastor, speaker, or other talk mics—with music, playback, and other program audio left out.
- Full mix: the house mix, including music, singing, video playback, and click tracks.
Use a mix minus. Hope Translator hears whatever you send it. Music, singing, and a dense program mix make speech recognition less accurate, especially when the voice sits under or competes with playback. A full mix can still work if that is all you have, but quality drops whenever music is present.
Think of Hope Translator like an interpreter booth or a livestream encoder: it needs the spoken word, not the congregation mix.
How to Build a Mix-Minus Feed
You do not send the main left/right mix. Use a spare aux, bus, or matrix on the console.
- Create an aux or bus named something like Hope Translator or Speech only.
- Send talk mics to that bus: pulpit, headset, handheld, and any other spoken-word channels.
- Do not send music, playback, click, video, congregation mics, or the livestream/YouTube return.
- Set the bus to pre-fader if you still want translation when a talk mic is pulled down in the house mix. Use post-fader if you only want translation when that mic is up in the room.
- Leave a little headroom. Clipping at the board will show up as errors in the transcript.
If your console already has a mix-minus for streaming, recording, or a hearing loop, that same speech-only send is usually the right feed—as long as music is not on it.
Prerequisites
- A sound mixer/board with an aux, bus, matrix, or other spare send for a speech-only feed
- A computer running Hope Translator
- Appropriate audio cables based on your setup
- For Mac users: Loopback software (recommended for virtual audio routing)
Connection Methods
1. Direct USB Connection (Recommended)
Many modern mixers feature USB connectivity:
- Connect your mixer to your computer using a USB cable
- Route your mix-minus (speech-only) bus to the USB output, or select that bus as the USB send
- The mixer will appear as an audio input device
- In Hope Translator, select the mixer as your audio input source
2. Using an Audio Interface
For mixers without USB:
- Connect your mixer's mix-minus aux/bus output to an audio interface
- Connect the audio interface to your computer via USB
- Select the audio interface as your input in Hope Translator
3. Using Loopback (Mac Users)
Loopback is a powerful tool for Mac users to create virtual audio devices:
- Download and install Loopback
- Create a new virtual device
- Set your mixer (or the interface carrying the mix-minus) as the input source
- Select the virtual device as your input in Hope Translator
4. Using a DI Box
For analog mixers:
- Connect your mixer's mix-minus output to a DI (Direct Injection) box
- Connect the DI box to your computer's audio input
- Select your computer's audio input in Hope Translator
Step-by-Step Setup Guide
-
Prepare your mixer:
- Create or confirm a speech-only aux/bus (mix minus)
- Send only talk mics to that bus—no music or playback
- Set appropriate gain levels and leave headroom
-
Connect to computer:
- Choose your preferred connection method
- Use appropriate cables from the mix-minus send
- Verify connections are secure
-
Configure Hope Translator:
- Open Hope Translator
- Select your mixer or virtual audio device
- Test the audio input with spoken voice only
Best Practices
- Use a mix minus: Send speech only—not the full house mix with music
- Monitor levels: Keep an eye on input levels to prevent clipping and transcript errors
- Use balanced cables: When possible, use XLR or TRS cables for better signal quality
- Ground loops: Be aware of potential ground loop issues and use appropriate solutions
- Backup plan: Always have a backup audio source ready (for example, a dedicated talk mic)
Troubleshooting
Common issues and solutions:
- No signal: Check cable connections and that the mix-minus bus is assigned to the output you're using
- Poor audio quality / inaccurate transcripts: Confirm music and playback are not on the feed; verify gain staging and cable quality
- Latency issues: Use direct USB connection when possible
- Ground noise: Use balanced cables and proper grounding
Advanced Setup: Multiple Talk Sources
For complex setups with multiple spoken-word sources:
- Combine pulpit, headset, handheld, and other talk mics on one speech-only bus
- Keep music, playback, and congregation mics off that bus
- Send that mix-minus output to Hope Translator
- Consider using Loopback (Mac) if you need custom routing on the computer
Tips for Success
- Sound check: Always perform a thorough sound check before events, including a short spoken passage with music playing in the room to confirm the feed stays speech-only
- Level matching: Ensure mixer output levels match your computer's input requirements
- Backup recording: Consider recording a backup of your audio
- Monitor translation: Keep an eye on translation quality during the event
Reference Video
For a detailed visual guide on connecting mixers to computers, watch this helpful video: 6 Ways To Connect An Audio Mixer To A Computer
Conclusion
Connecting Hope Translator to your sound mixer opens up new possibilities for professional translation in live events. Start with a mix-minus (speech-only) feed, then choose the connection method that fits your console—USB, an audio interface, Loopback, or a DI box. Proper audio routing ensures clear, accurate translations for your audience.
Ready to enhance your translation setup? Visit hopetranslator.com and start connecting your sound system today!